DIY - 智能小車:PIC16F877A 第一個 CCS C LED 閃動程式 (十):
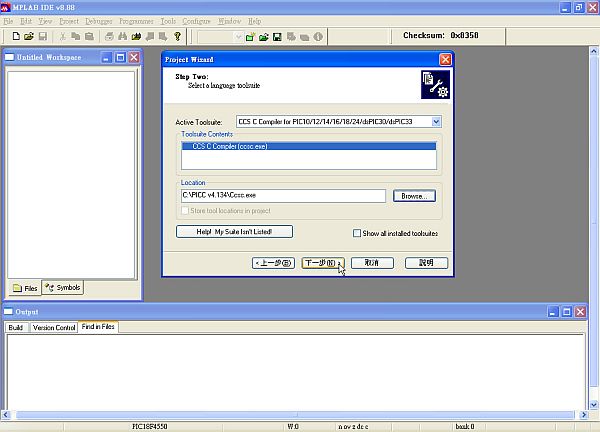
第一個 CCS C 程式是在 RA0 (Pin 2) 驅動 LED 閃動,當然是完成 Project Wizard 後,便可以開始編寫程式,CCS C 的指令與 C18 是有點不同,祇要根據 CCS C 的指令方式,多寫幾個程式,便會上手。
 |
| ▲ PIC16F877A 的 LED 熄滅 |
 |
| ▲ PIC16F877A 的 LED 點亮 |
#include <16f877a.h>
#FUSES NOWDT //No Watch Dog Timer
#FUSES HS //High speed Osc (> 4mhz for PCM/PCH)
#FUSES NOPUT //No Power Up Timer
#FUSES NOPROTECT //Code not protected from reading
#FUSES NODEBUG //No Debug mode for ICD
#FUSES NOBROWNOUT //No brownout reset
#FUSES NOLVP //No low voltage prgming, B3(PIC16) or B5(PIC18) used for I/O
#FUSES NOCPD //No EE protection
#FUSES NOWRT //Program memory not write protected
#use delay(clock=20000000)
void main(void)
{
while(1) {
//Example blinking LED program
output_bit(PIN_A0, 1); // output logical 1 to PIN_A0
delay_ms(1000); // wait for 1 seconds (1s=1000ms)
output_bit(PIN_A0, 0); // output logical 0 to PIN_A0
delay_ms(1000); // wait for 1 seconds (1s=1000ms)
} // End While
} // End main
|
2013年1月31日 天氣報告
氣溫:18.2 度 @ 22:40
相對濕度:百分之69%
天氣:多雲


